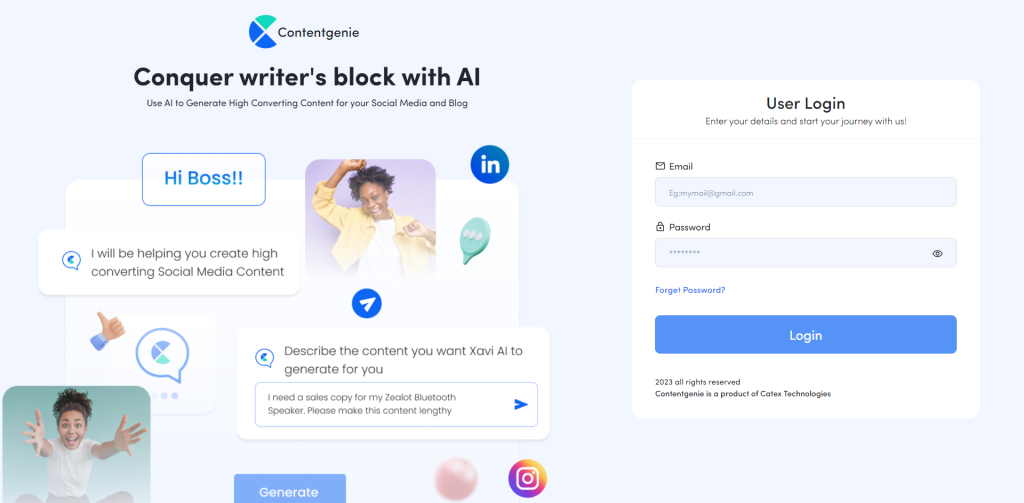
Login to get started
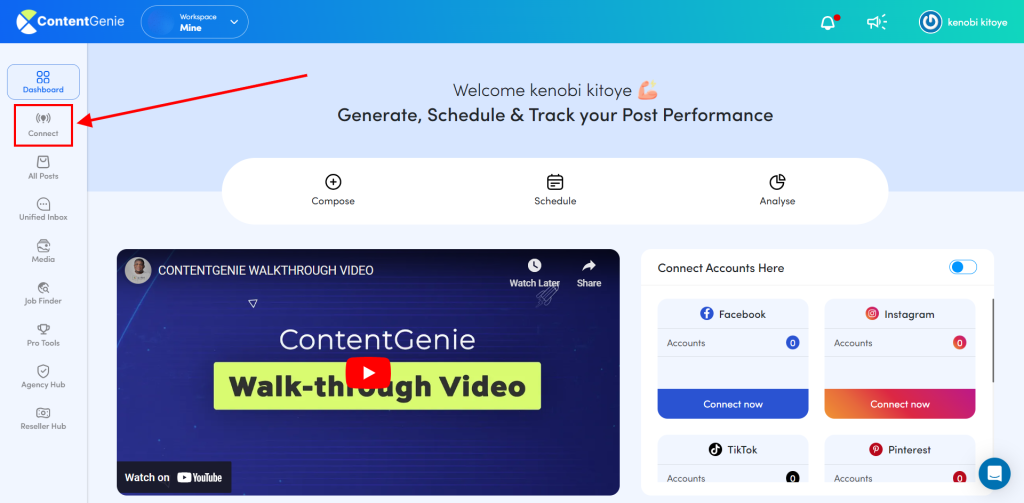
Step 1: Click on Connect on the left side of your dashboard
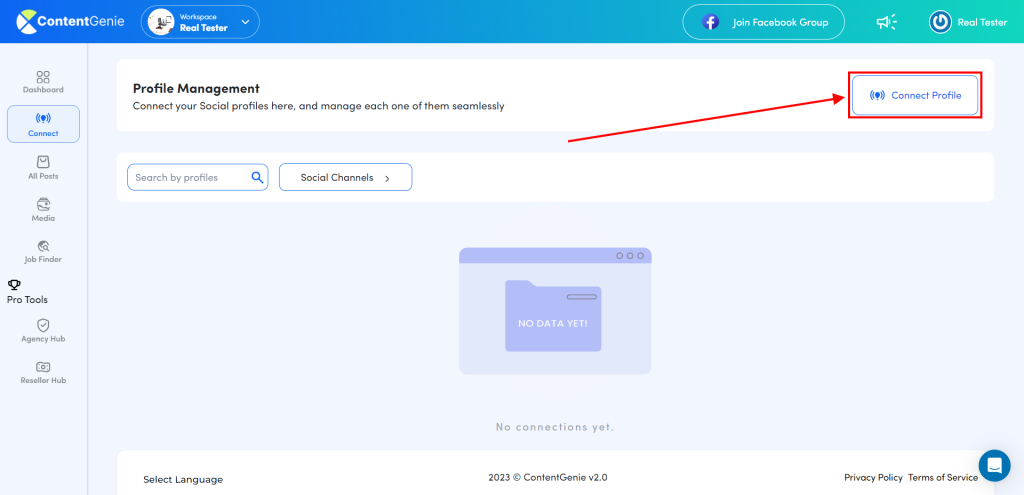
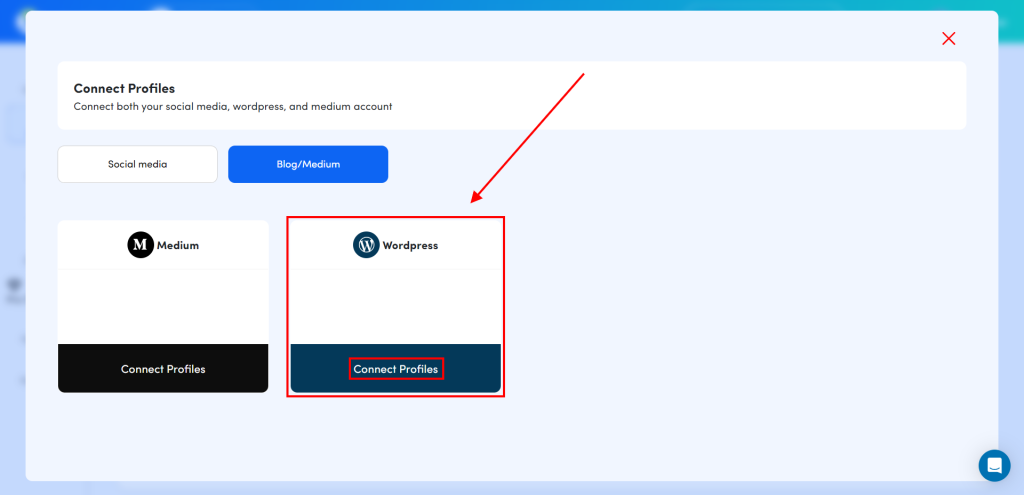
Step 2: Click on Connect Profile
Step 3: Select WordPress and click on Connect Profiles
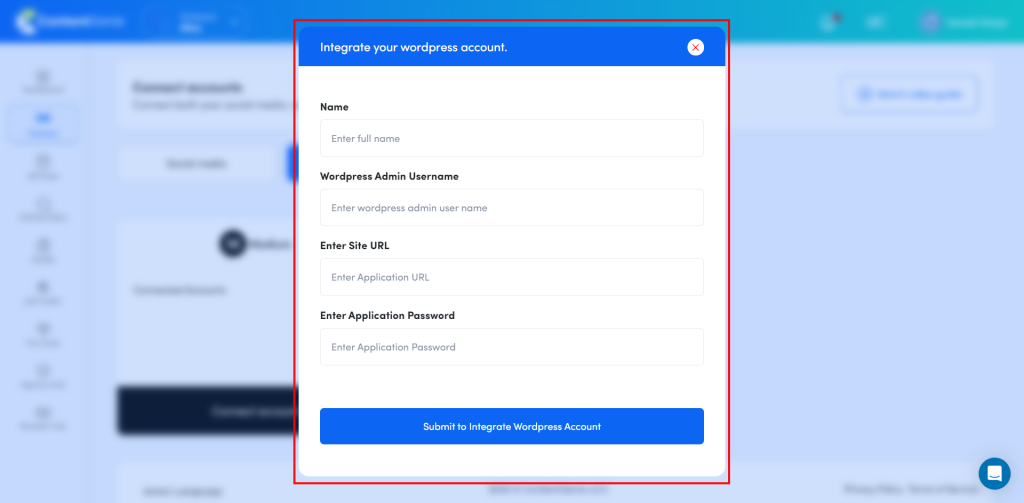
Step 4: Here you are required to Input the Name, Application username, Site URL, and Application password of your WordPress account. To do that, head on to your WordPress account backend.
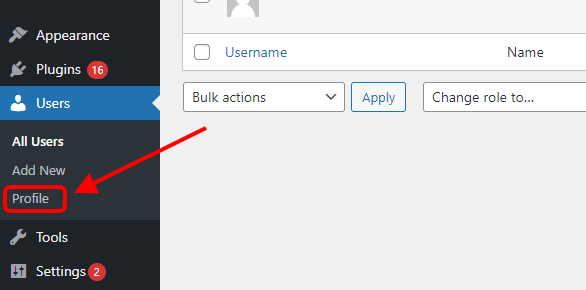
Step 5: When logged in to your WordPress backend, click on “users”

A drop-down will appear, click on Profile
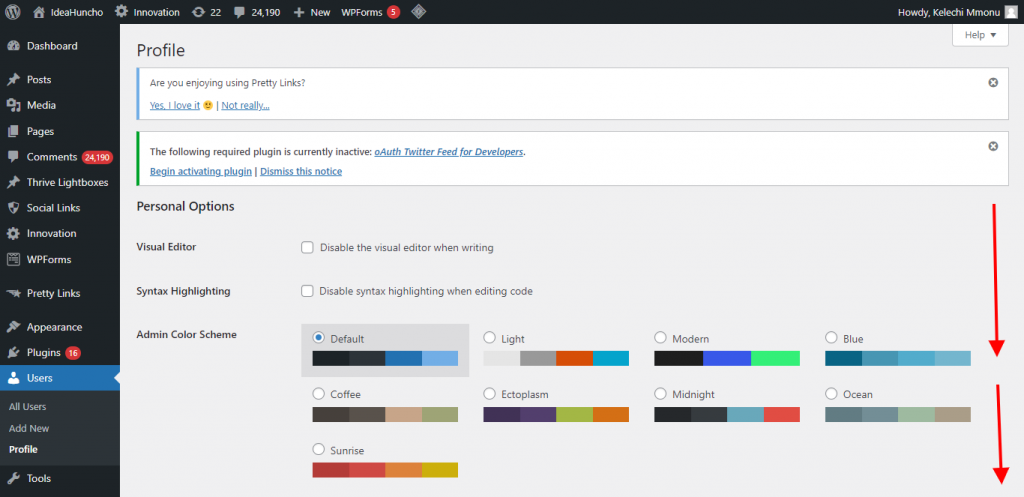
Step 6: In your Profile dashboard scroll down to the bottom of the page.
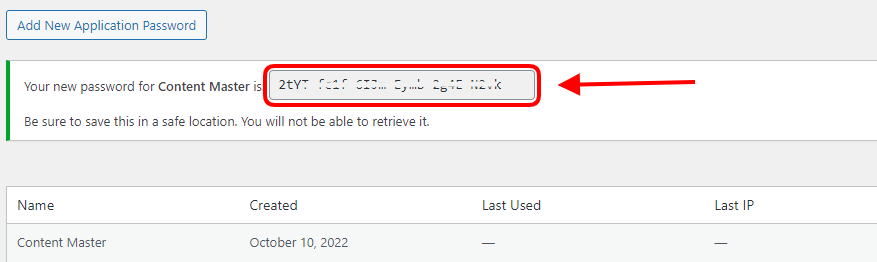
Step 7: When you’ve scrolled down the page, Fill in your preferred Application Password Name, after that click on the “Add New Application Password” button to generate your application password.

And here you have your Application password generated. Make sure you copy the Application password immediately after it is generated because it won’t be saved for you later.
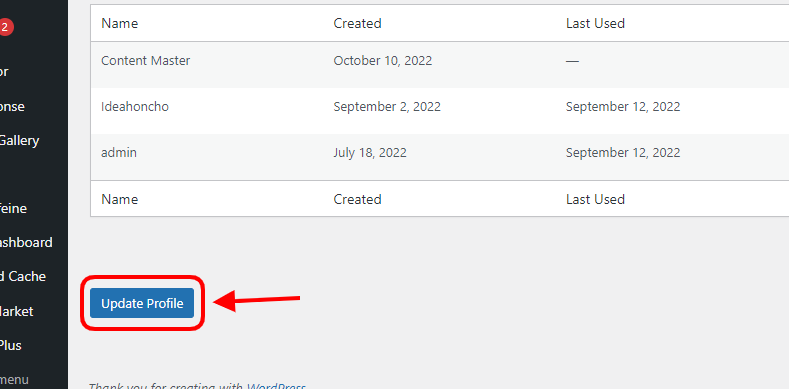
Step 8: Immediately after you’ve copied your Application Password, Scroll down and click on “Update Profile”
Step 9: Head back to Contentgenie and paste your:
- Name
- WordPress Admin Username
- WordPress Site URL and
- Application Password
After that click on “Submit to integrate WordPress Account”

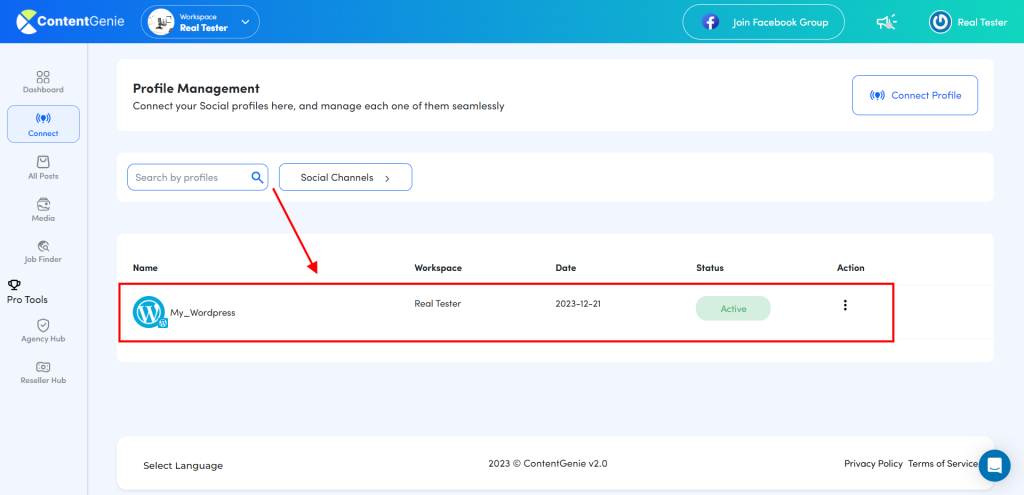
And here you have your WordPress Profile successfully connected to Contentgenie in just a few minutes, how awesome.